This project was a collaborative effort between Tim Cruickshank, Jack Maxwell, Jesper Särnesjö and Matt Willis.
We recently had the opportunity to design a software interface for a physical product for one of our clients. We approached this project like any other – applying a lean methodology, grounded in a build, measure, learn process. We applied our talents to story mapping, design sketching and user testing to validate our assumptions early. We chose the tools and techniques that we believed would provide the most value to solving the problems at hand.
When designing any digital product, we always strive to get the end user involved as early as possible in the process. Be this through user interviews, the testing of prototypes or co-creation during the design process. This allows us to learn quickly, to build a product that serves the identified need and is something that users actually want to use.
The Problem
One problem we faced, though, was a very long turnaround if we actually wanted to test the UI on an actual device. Our preference is to test in a scenario that is as close to real-world usage as possible so that we can get the most reliable and relevant results..
So we applied our thinking to creating a prototype that would allow us to test our designs as they were created using a physical interface, and to be able to test with users using an interface that best represented what the final product might look like. What we came up with consisted of a set of fairly simple components tied together to form an elegant solution.
Prototyping the external interface
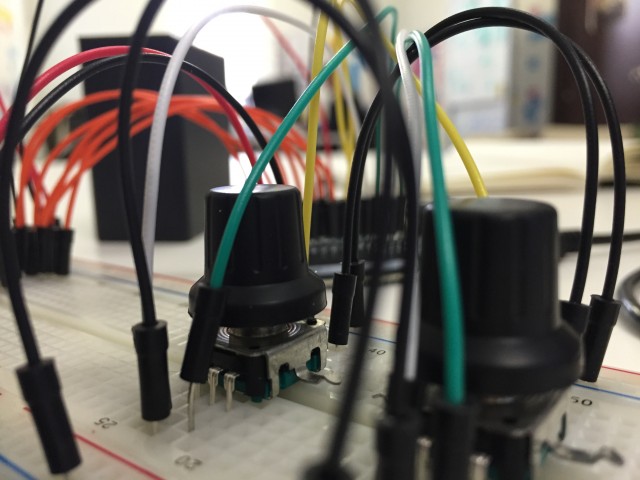
Our first step was to replicate the physical hardware interface so that we could drive our UI using push buttons and dials, instead of touch screens and mouse pointers. We replicated the hardware buttons and dials of the target device using off-the-shelf components. The components were connected to a breadboard to create the right circuit, and connected this to an Arduino to provide the inputs and outputs for the physical dials and buttons.
The initial concept
The first idea we had was to use an iPad in place of the display, and create our prototype with Marvel. The problem we ran into here, was finding a reliable way of connecting external hardware device to the iPad. One option we discovered was to use the audio input of the iPad to receive the inputs from the Arduino. We soon discovered that this was overly complicated for our ambitions of designing a simple solution. So with that, we went back to the drawing board.
Iteration #2
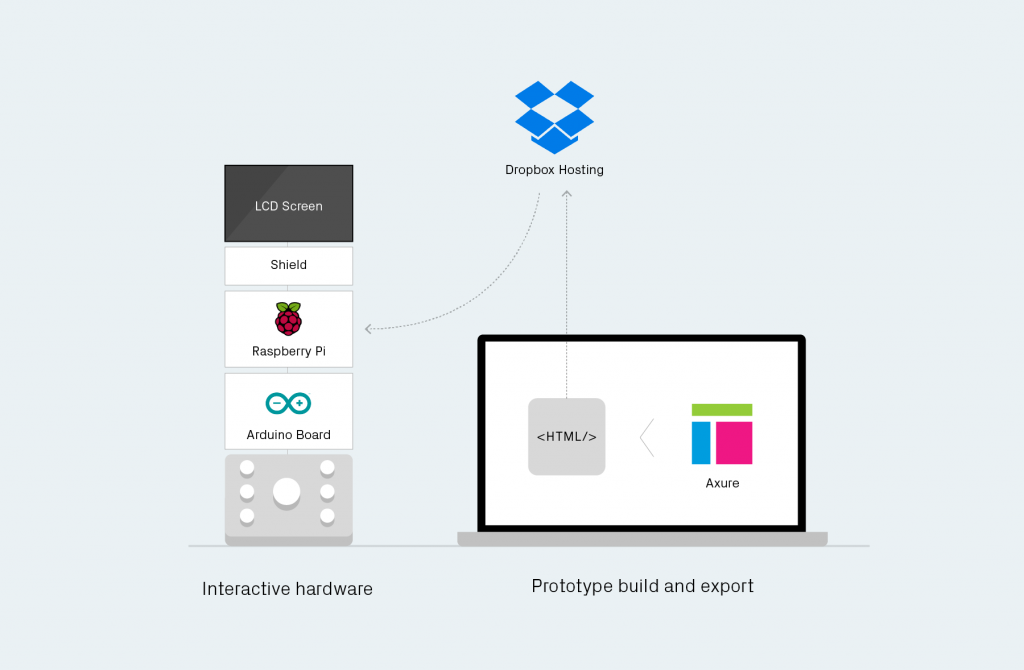
For the next step, we decided to use the Arduino as a keyboard emulator and attach it to the computer running the prototyping tool. Using this method, we were able to connect the hardware to a computer, and use this setup as an input device with the intention of using this to drive the prototype of our UI.
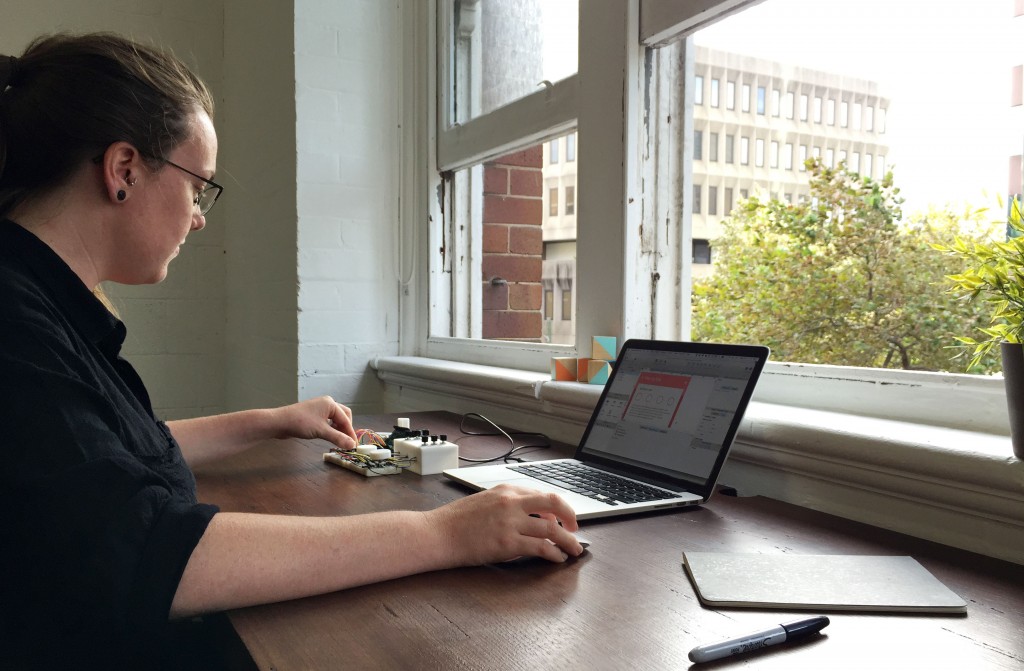
After investigating various prototyping tools, we found that Axure was one of the few that allowed for keyboard input to drive various interactions in a prototype, so it became our tool of choice for this project. The combination of the physical hardware with a software prototype allowed us to ‘feel’ the UI through the physical interface during our design phase, allowing us to easily test our decisions around which button or dial had what action in the UI. But we weren't quite there yet.
Iteration #3 - The Solution
The final step was to create a prototype we could get in front of users, that more closely represented the target device. We needed to get our Axure prototype off of the computer screen, and on to a physical device for testing. For this task, we chose to use a Raspberry Pi 2, with a 4.7” touch TFT screen to display the UI prototype created in Axure. The Arduino was plugged into the Raspberry Pi 2 to provide the hardware input. Finally, we designed and created an enclosure that we 3D printed to house all of the components.
What we ended up with was a small hardware device that is capable of displaying Axure prototypes using our hardware interface for input. Total turnaround to have a prototype on physical hardware was reduced from a matter of months to a matter of days, and allowed us to rapidly iterate on our software designs whilst still testing on physical hardware.
Conclusion
Product design is much more than creating beautiful UI to support the user in their experience with your product. It is about the seamless interaction between the hardware and software to create a more complete experience. Using hardware in our prototyping method meant that we could much more easily understand the design decisions we were making without the overhead of long development cycles required in getting the software on to the final product.